My Layout
For many
years I have only had most of my models in 4 display cases along the walls of
my office with a 3 foot test track below one of the display case. I now needed to build a layout so I could run them. HO scale
A few years ago we took up part of my brothers old train layout that had no ballast. Most of this track was glued down with white glue so it was easy to take up. Many Peco switches and flex track. None of the switches were glued, only the flex track was glued down. The flex track could be made flexible again with hot water working the glue loose.
June 2019:
After planning my layout I only had to purchased about 5% more trackage for this project. A Big Savings of out the pocket cost for me. New roadbed I had to buy.
First I spent a week or so designing a workable HO scale layout with AnyRail software for this small area. In designing this I used Peco switches. 36" flex track and a 6 sectional 15" radius track on the smallest curve going around the freight yard. 5' X 8.5' This layout would be reachable from all sides.
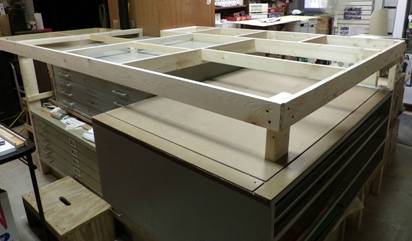
My basement is full and no place for a large HO scale layout, so my only next step was to build a layout over something down there. I only found one area where I could do this. Built the 8.5' X 5' frame work then added the plywood on top. You will notice there is only a few inches beneath the frame, just enough to fish any wires to the outer edge. I made a large print out of the layout plans, each square in one foot. The print out was taped together and laid across the work bench.
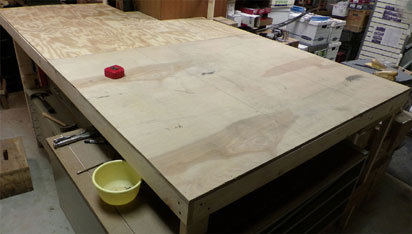
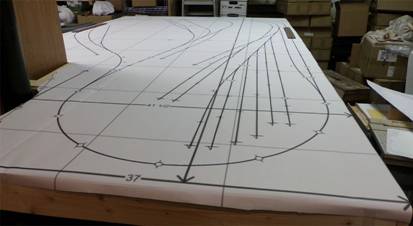
Now to transfer the track lines to the plywood. I used a perforation rotary wheel to transfer the track center line to the plywood. Then I use a pencil to connect the dots.
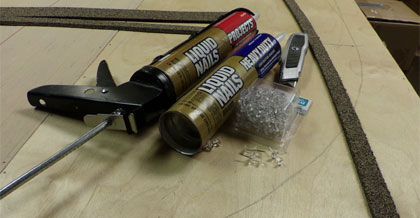
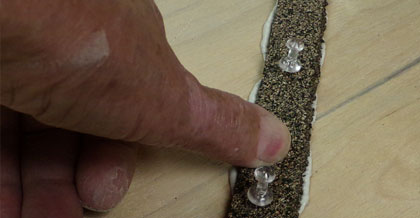
Tools needed to lay the cork roadbed, liquid nail, claking gun, utility knife, push pins and a small hammer. Here I started laying the outside half of the cork. First spread some liquid nail on the outside of the center line, smooth it out some. Lay the cork square side on the center line with the beveled side going out. Add the push pins to hold the cork in place and scrape away the excess liquid nail at the center line. Just smooth out any small amount of liquid nail on the bevel side with your finger, scrape away any large amount.
Below 2 Photos: Once I had the outside circle done, I started on the inside.


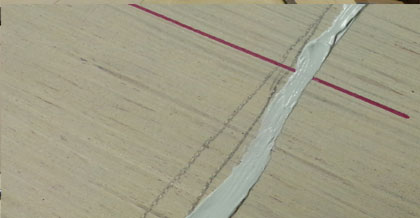
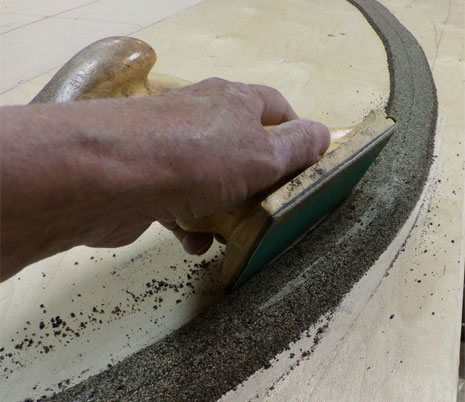
Below 2 Photos: Here I use a 100 grit block to sand around the cork ruff edges and use a small vac to clean up afterwards.
I will be sanding the cork many times while building this layout.

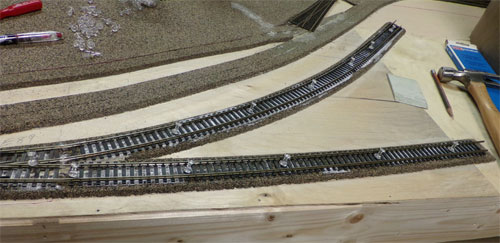
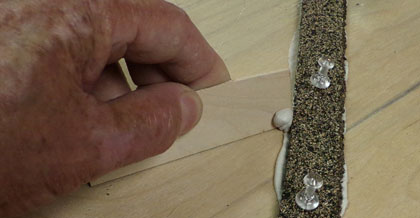
Below I am gluing the track to the cork road bed with Elmer's white glue. Right photo shows a plastic spreader used to smooth out the glue.

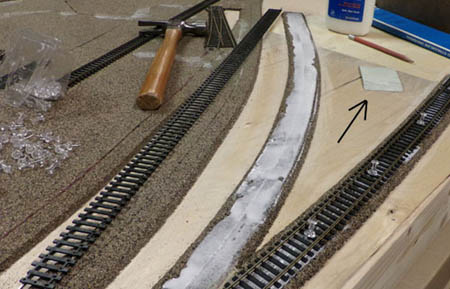
These push pins are used to hold the track in place while the glue dries. The reason for this is the track can be remove easy if you need to change any track plans.
Later on this track was removed becaus the hopper trestle had to go there. You can soak the track in hot water to remove the glued curve position.